Upgrading the exhaust system on a Gen 3 HEMI-powered Dodge vehicle (5.7L, 6.1L, 6.4L, or 6.2L) is an effective way to improve airflow, increase power, and completely transform the sound of your car. The install process follows the same core principles across platforms like Chargers, Challengers, and the knowledge can be leveraged to be able to uninstall and install exhaust across the board; however, the tools required may change depending on the vehicle.
Why a Performance Exhaust Install Matters
From the factory, Gen 3 HEMI and pretty much all manufacturers’ exhaust systems are built with restrictions to meet emissions, noise, and cost targets. While they’re reliable and quiet, they limit how efficiently exhaust gases can exit the engine.
A performance catback exhaust install improves exhaust flow by reducing backpressure and optimising pipe diameter, routing, and component design. This allows the engine to breathe more efficiently, especially at higher RPM, where factory systems tend to become restrictive.
Preparation and Tools
Before starting, proper preparation is what separates a smooth install from a frustrating one. The vehicle should be safely lifted on jack stands or, even better, a lift and a set of pole jacks, and remember the exhaust system must be completely cool.
Tools needed:
- 8mm socket
- 13mm socket (to remove exhaust hangers)
- 15mm socket (for stock exhaust clamps on most chargers/challengers)
- Extensions
- Impact Driver
- Penetrating oil (spray bolts) and lubricant spray (to spray exhaust hangers)
- Hanger removal tool (if you choose not to remove hangers by bolt)
*Other tools may be needed depending on the aftermarket exhaust you are installing and the make/model vehicle you are working on. Please refer to the exhaust manufacturer’s recommendations for any extra tools that may be needed.
Penetrating oil should be applied to all factory bolts, especially if the vehicle has high mileage or has been exposed to the elements. Exhaust hardware can seize over time, and rushing removal often leads to broken bolts or stripped threads.
Having the right tools and workspace ensures you can focus on alignment and fitment rather than fighting stuck components.
Removing the Factory Exhaust
On Gen 3 HEMI vehicles, the exhaust typically runs as one continuous system from the mid-section to the rear mufflers.
Start at the rear and work forward. If available, use pole jacks to support the exhaust after loosening the hangers. For this example, we’re working on a stock 2023 Scat Pack.
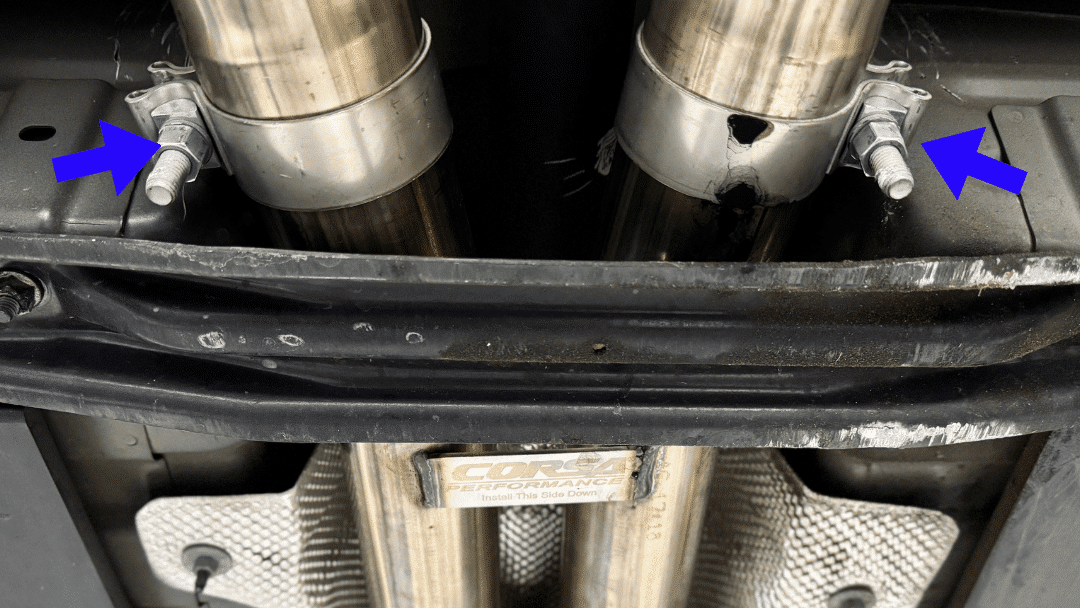
Begin by removing both rear exhaust hangers above the mufflers near the tips using a 13mm socket. We prefer this method over pulling the hangers out of the rubber mounts (see below for reference).
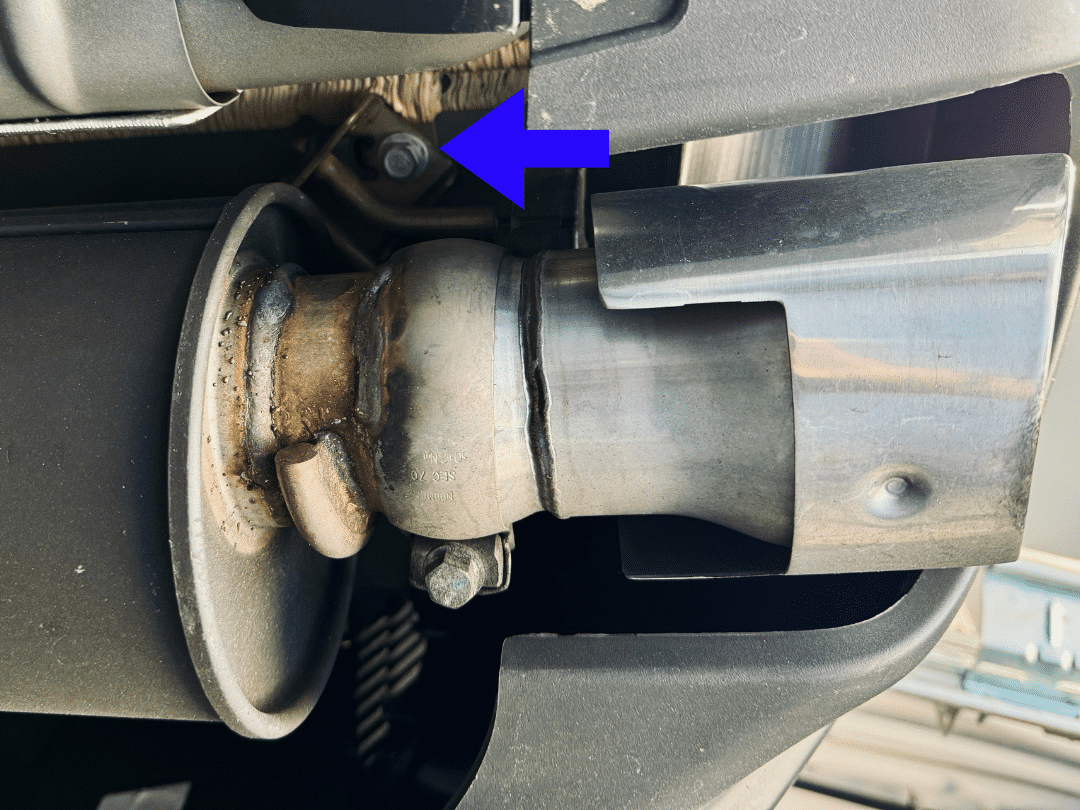
If you slide the exhaust out of the hangers, expect a tight fit. Use a lubricant or a hanger removal tool to avoid damaging the rubber mounts. On some vehicles, like a Charger or Challenger, it’s often easier to remove the hanger bolt instead.
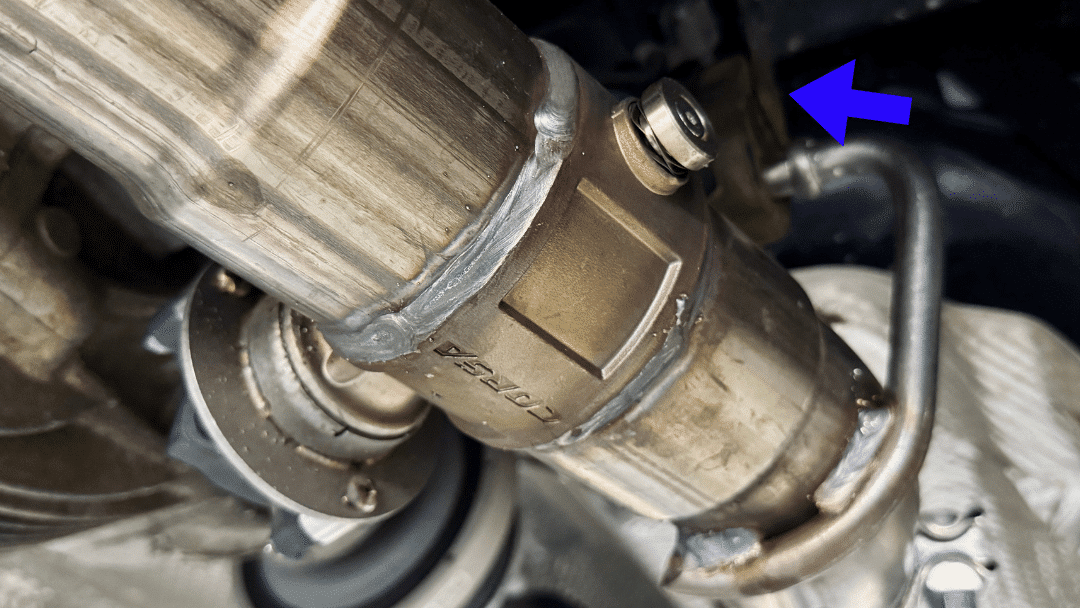
Next, unplug the active exhaust valves and remove the hanger bracket using a 13mm socket. On this Scat Pack, after removing the bolt, lift the hanger to release the retaining clip.
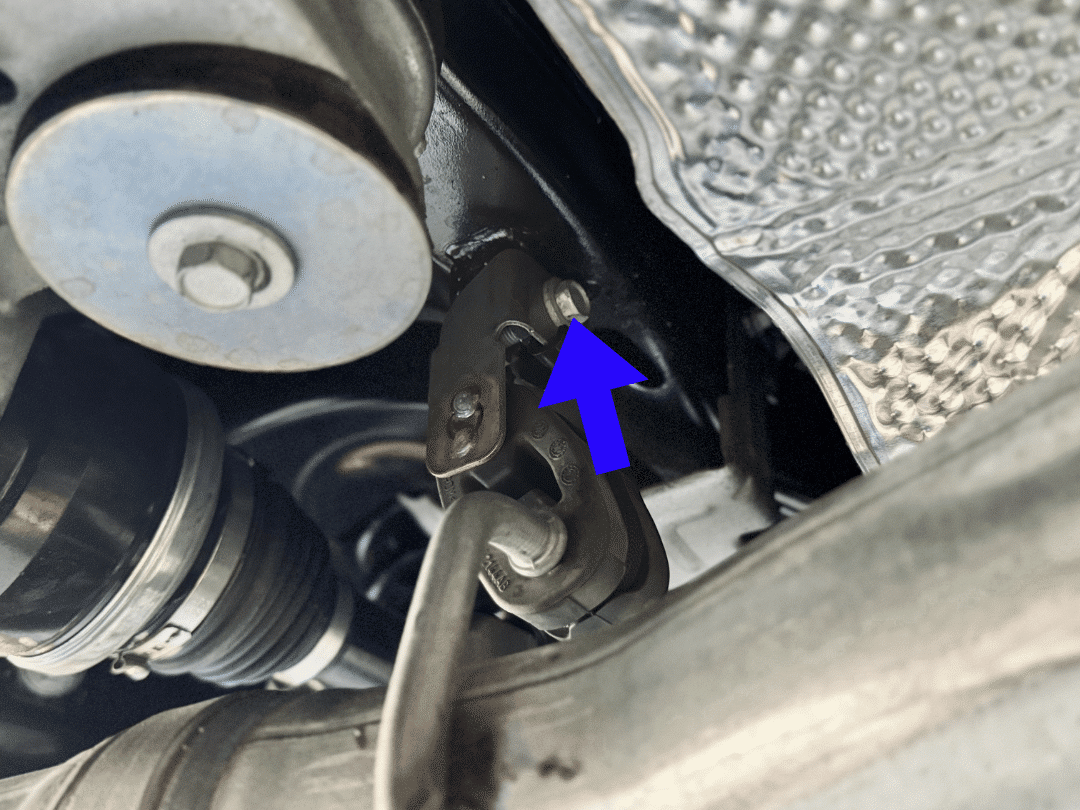
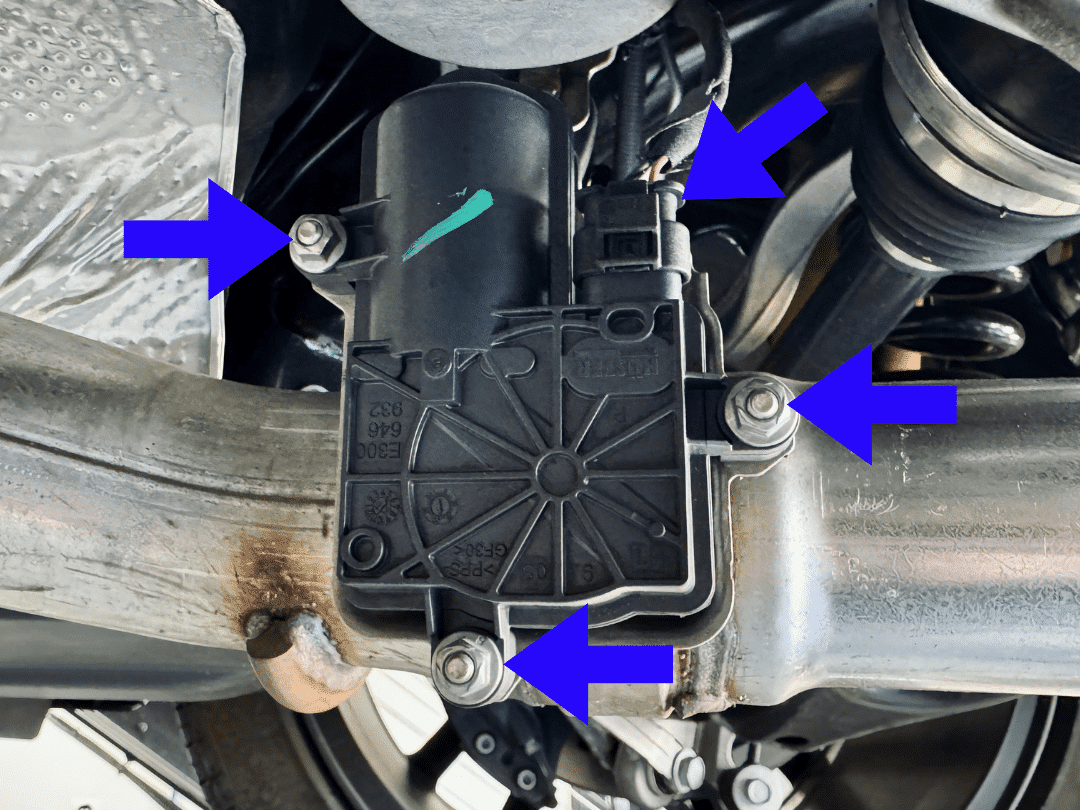
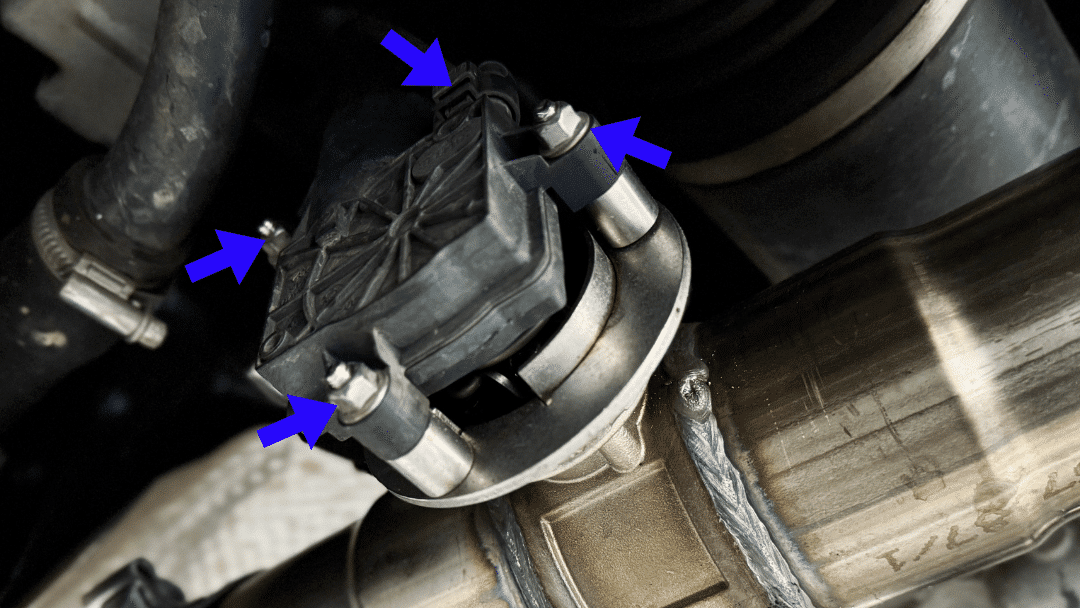
You can remove the active exhaust valves now or wait until the exhaust is on the ground. Use an 8mm socket to take them off. If your new exhaust reuses the active exhaust system, transfer the valves and hardware from the stock setup to the new exhaust.
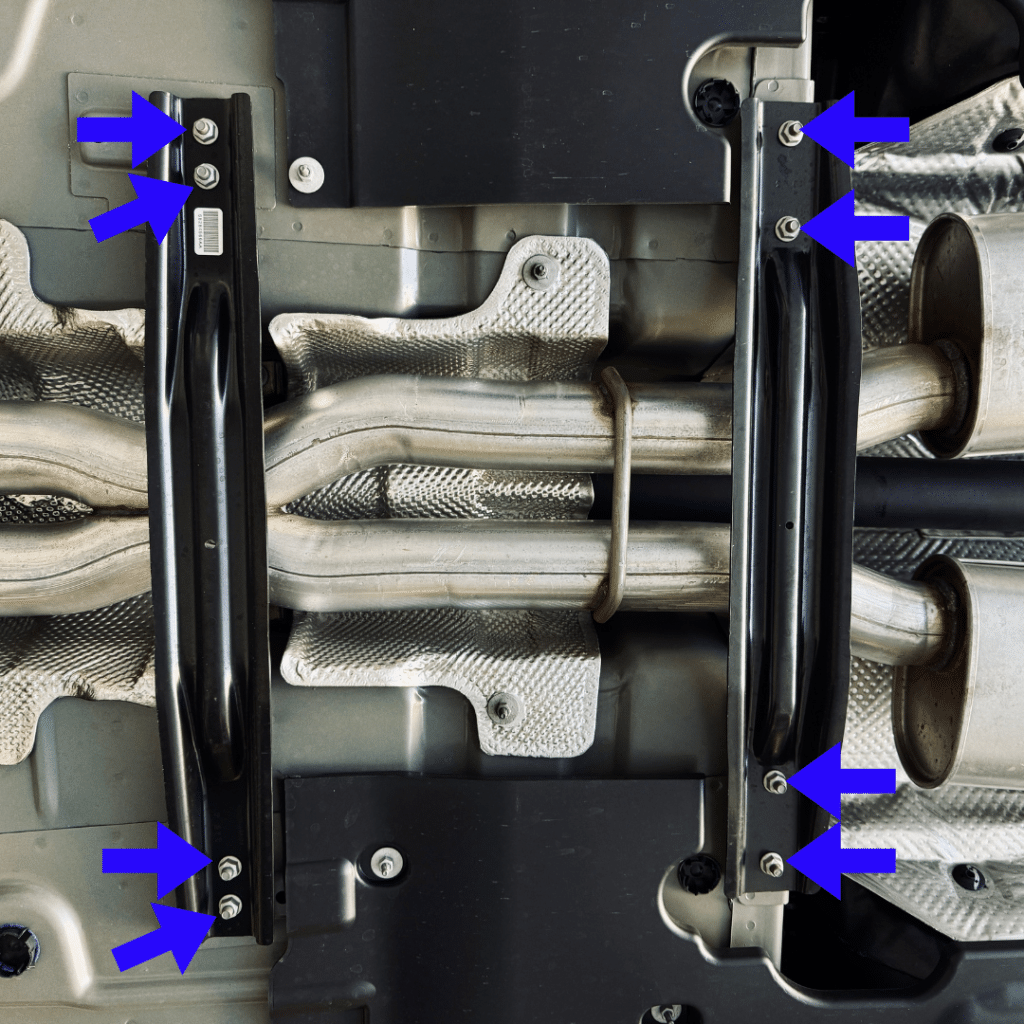
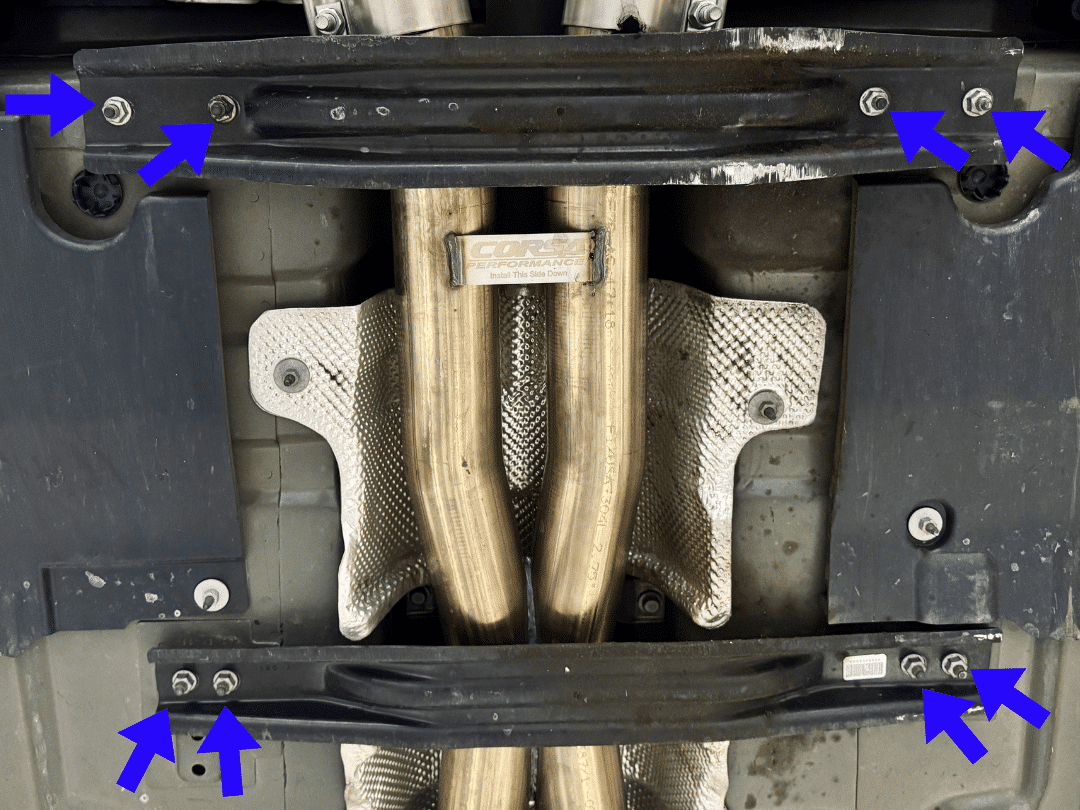
This Dodge Charger also requires removing the tunnel reinforcement bars to drop the exhaust. In this case, there are 2 bars and 8 bolts.
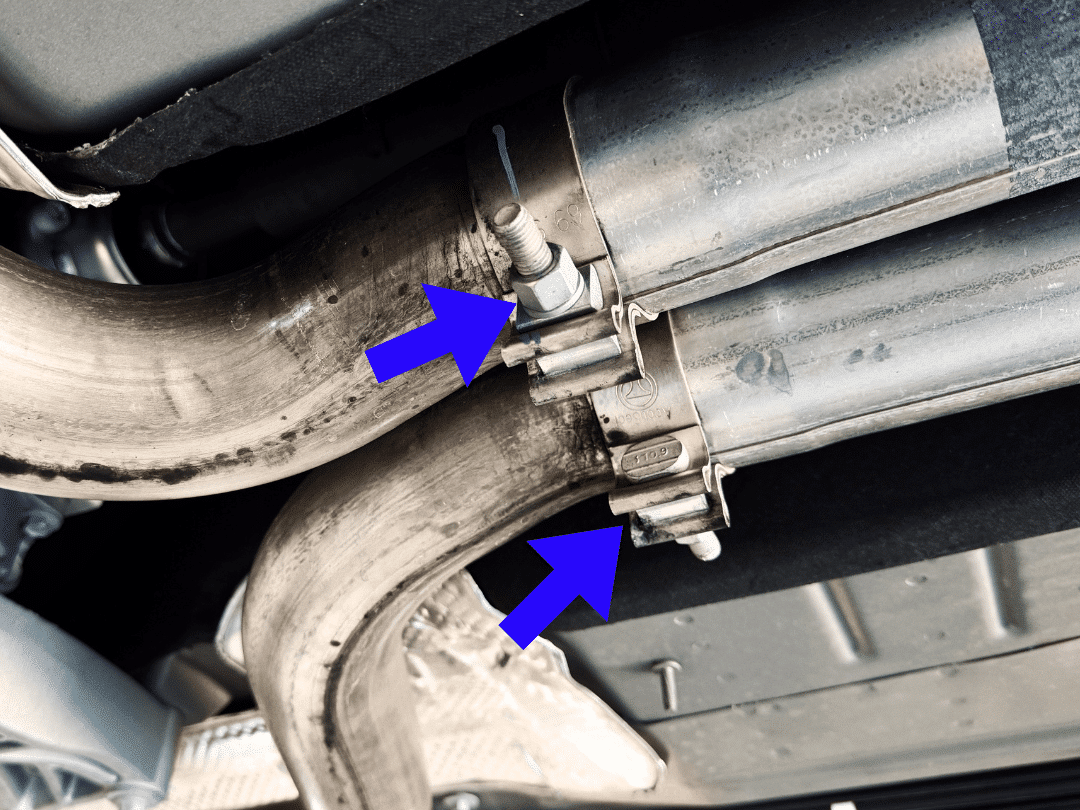
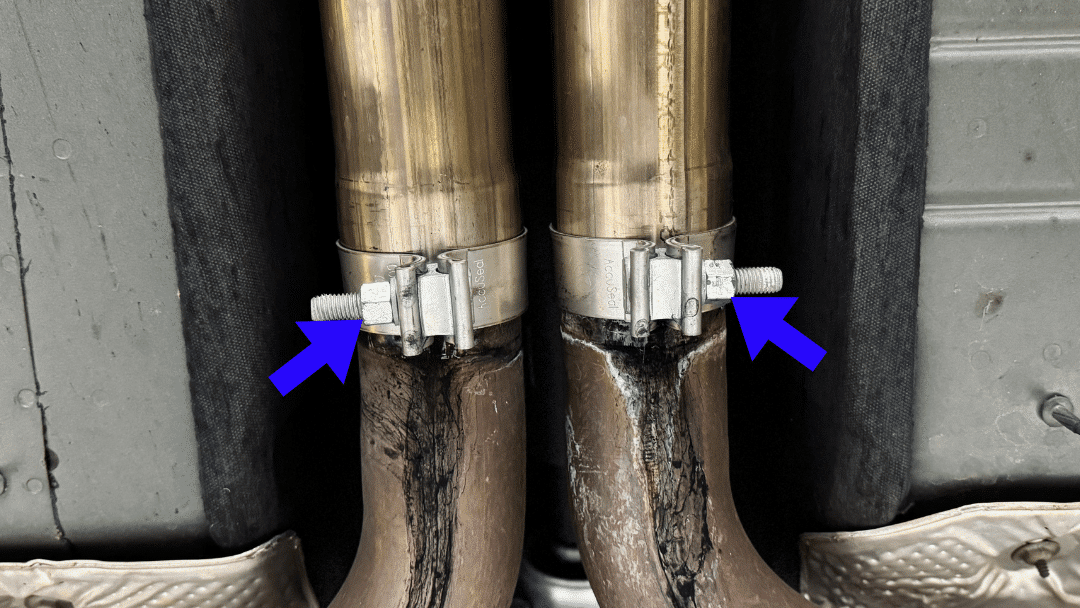
Last loosen the exhaust clamps on both sides, and then have someone help you drop the exhaust if it’s up in the air on a lift.
If you’re installing headers, you’ll need to remove the factory exhaust manifolds first. Installing long tube headers isn’t a simple bolt-on job; common methods often require dropping the subframe or even removing the cylinder heads. If you don’t have prior experience or access to someone who does, we strongly recommend that a professional install your long tube headers.
After disconnecting everything, carefully lower and remove the system. Taking your time here helps prevent unnecessary damage and makes installation smoother later.
Installing a Cat-Back Exhaust
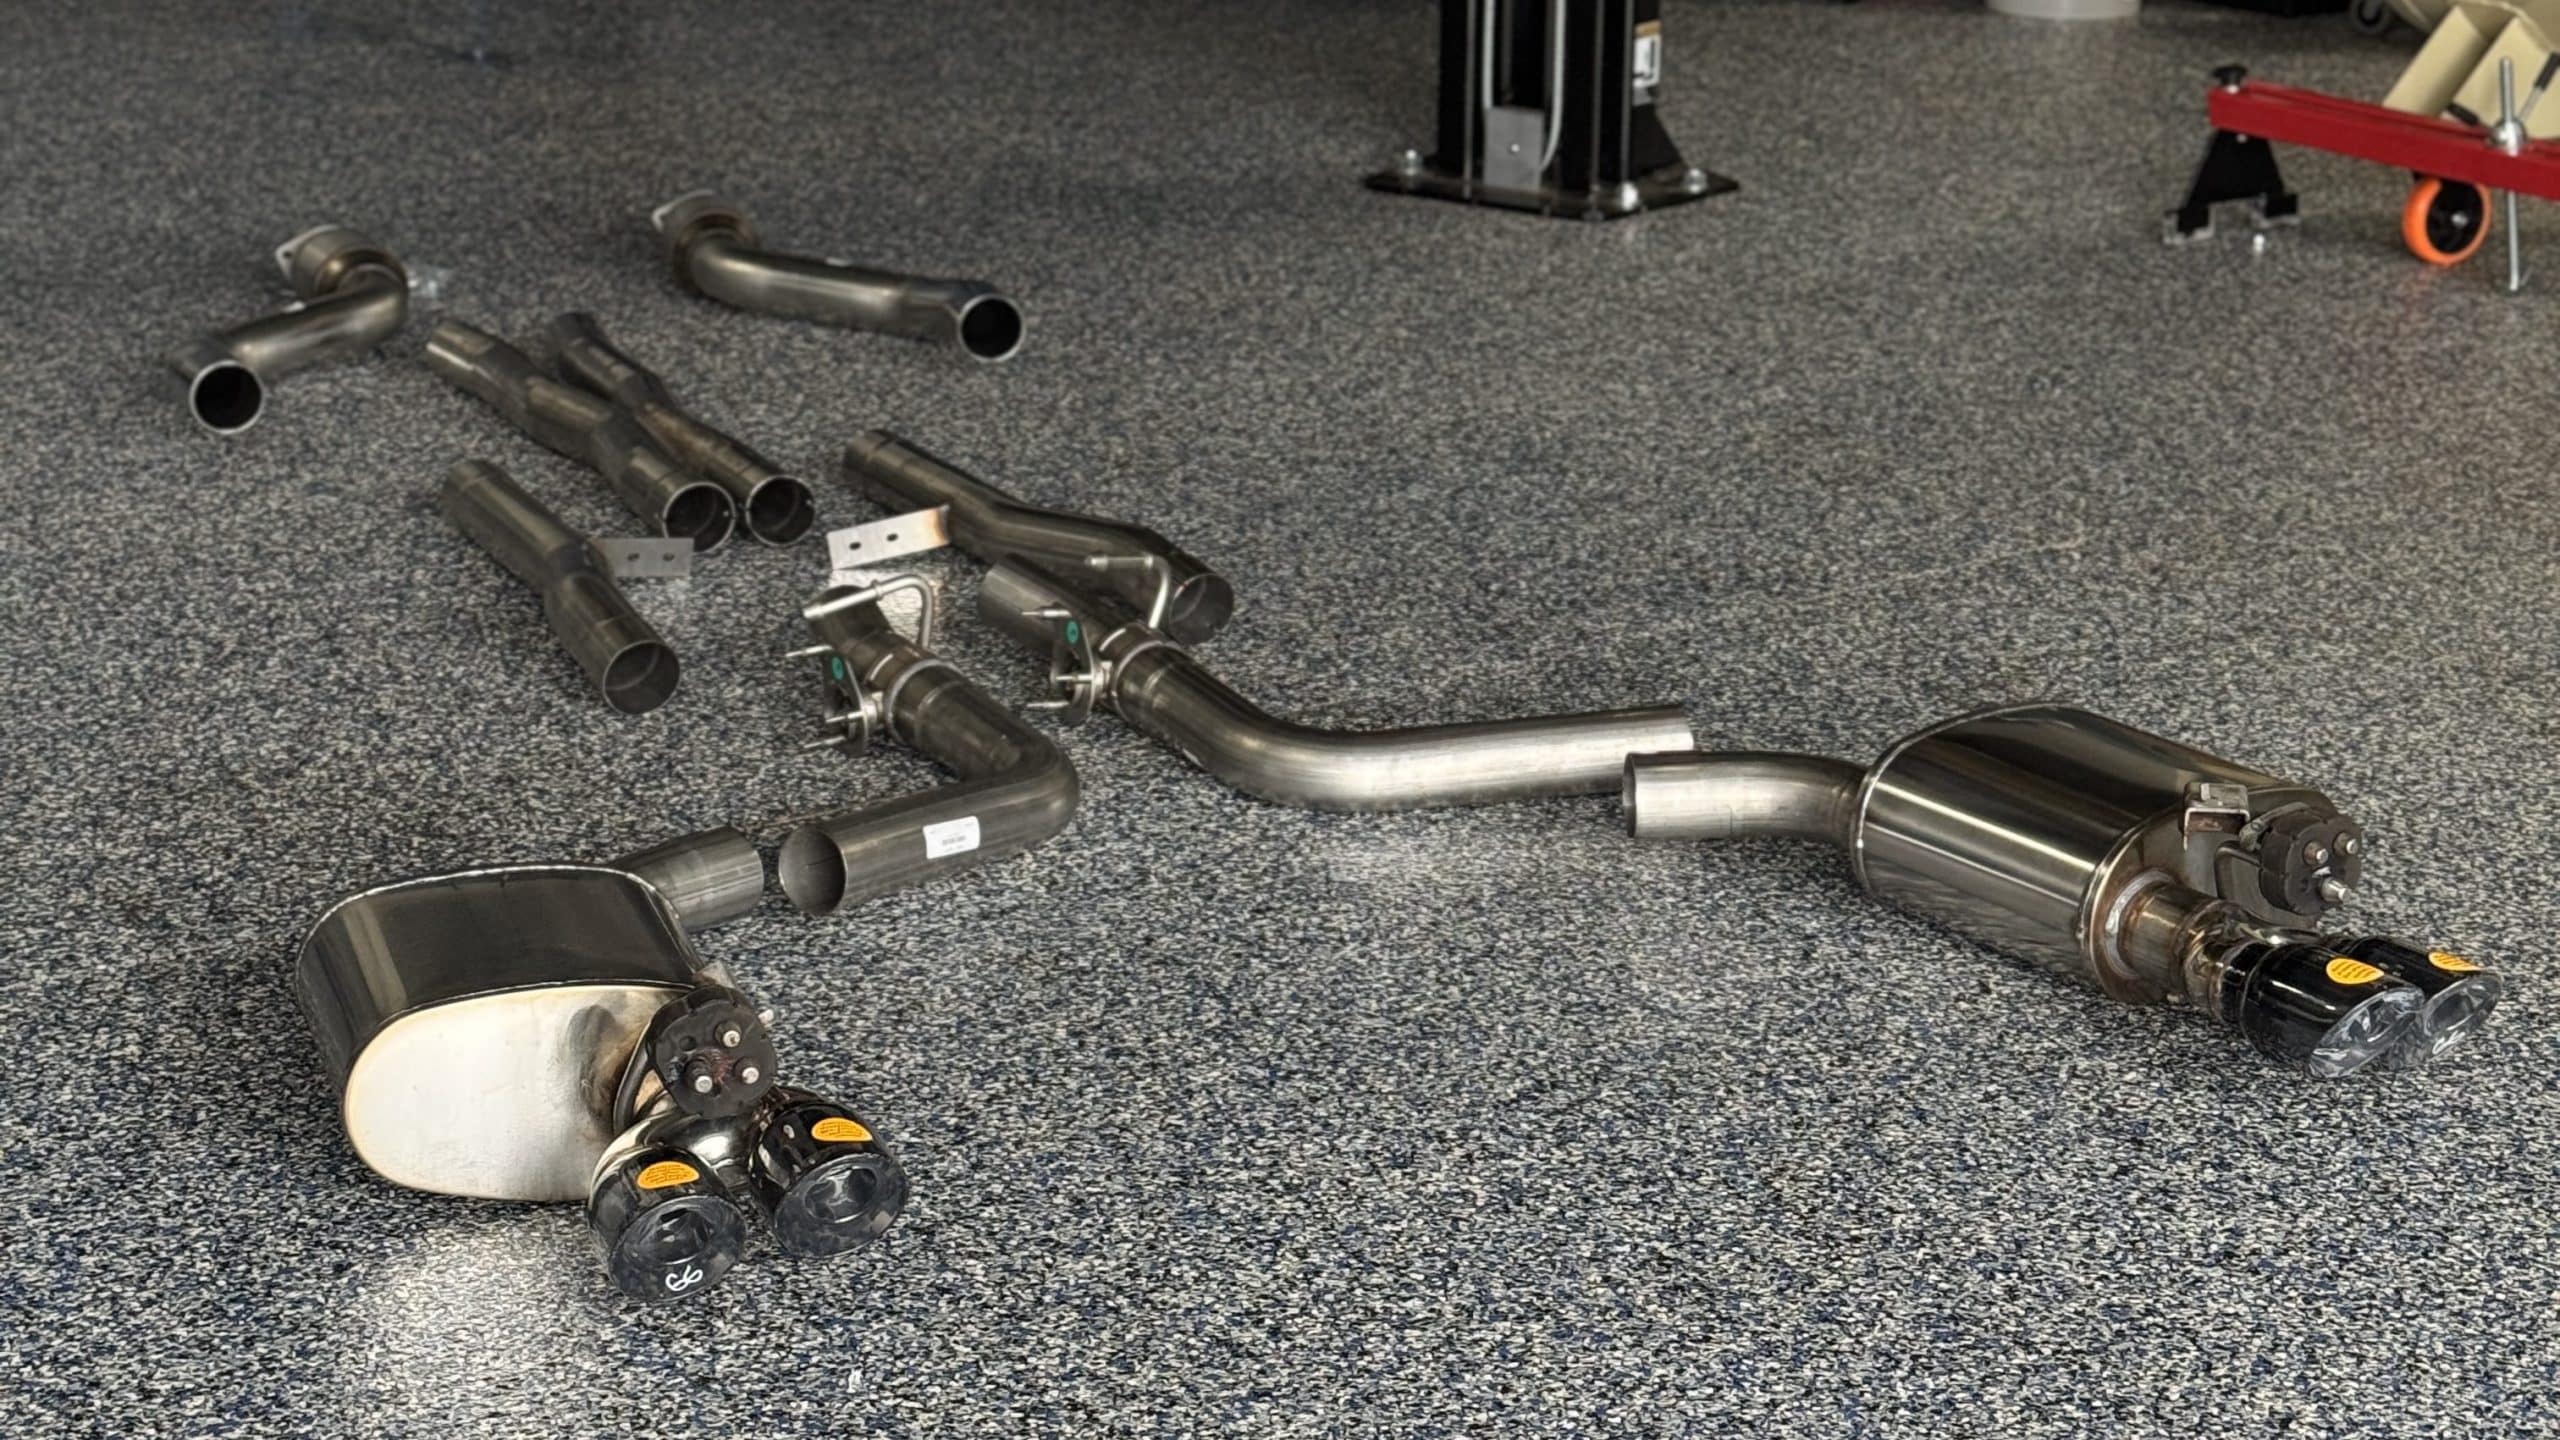
A cat-back exhaust installation replaces everything from the catalytic converters back, including the mid-pipes, resonators, mufflers, and exhaust tips. While the exact process can vary by vehicle and exhaust brand, most cat-back systems are relatively straightforward to install.
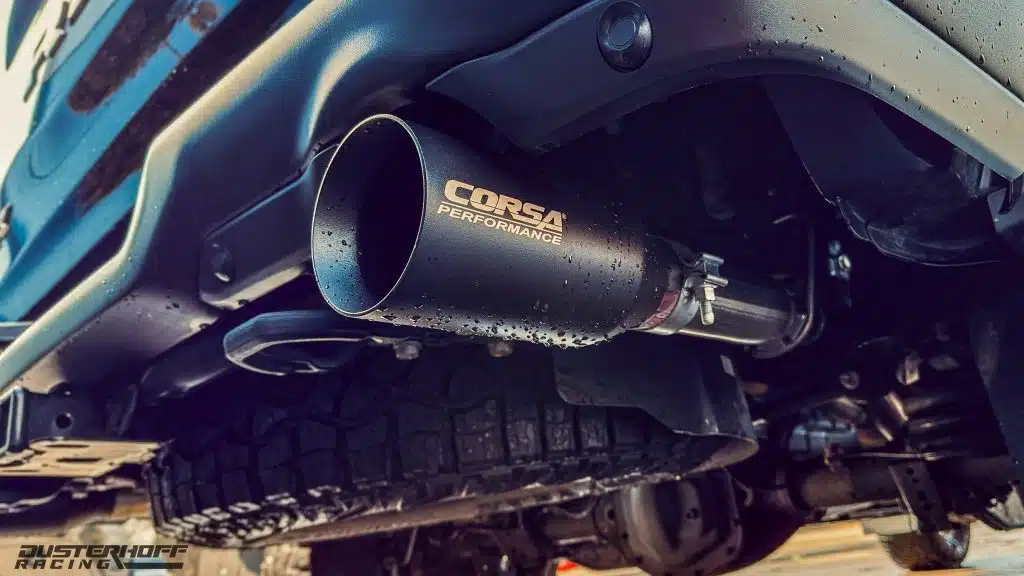
Start by loosely assembling the entire system. Begin at the front connection point to the midpipe and work your way toward the rear, fitting each section together without fully tightening any clamps or bolts. In this example, we are showcasing a Corsa Extreme exhaust system.
Keep moving your way backwards on the exhaust. Remember, do not fully tighten just yet.
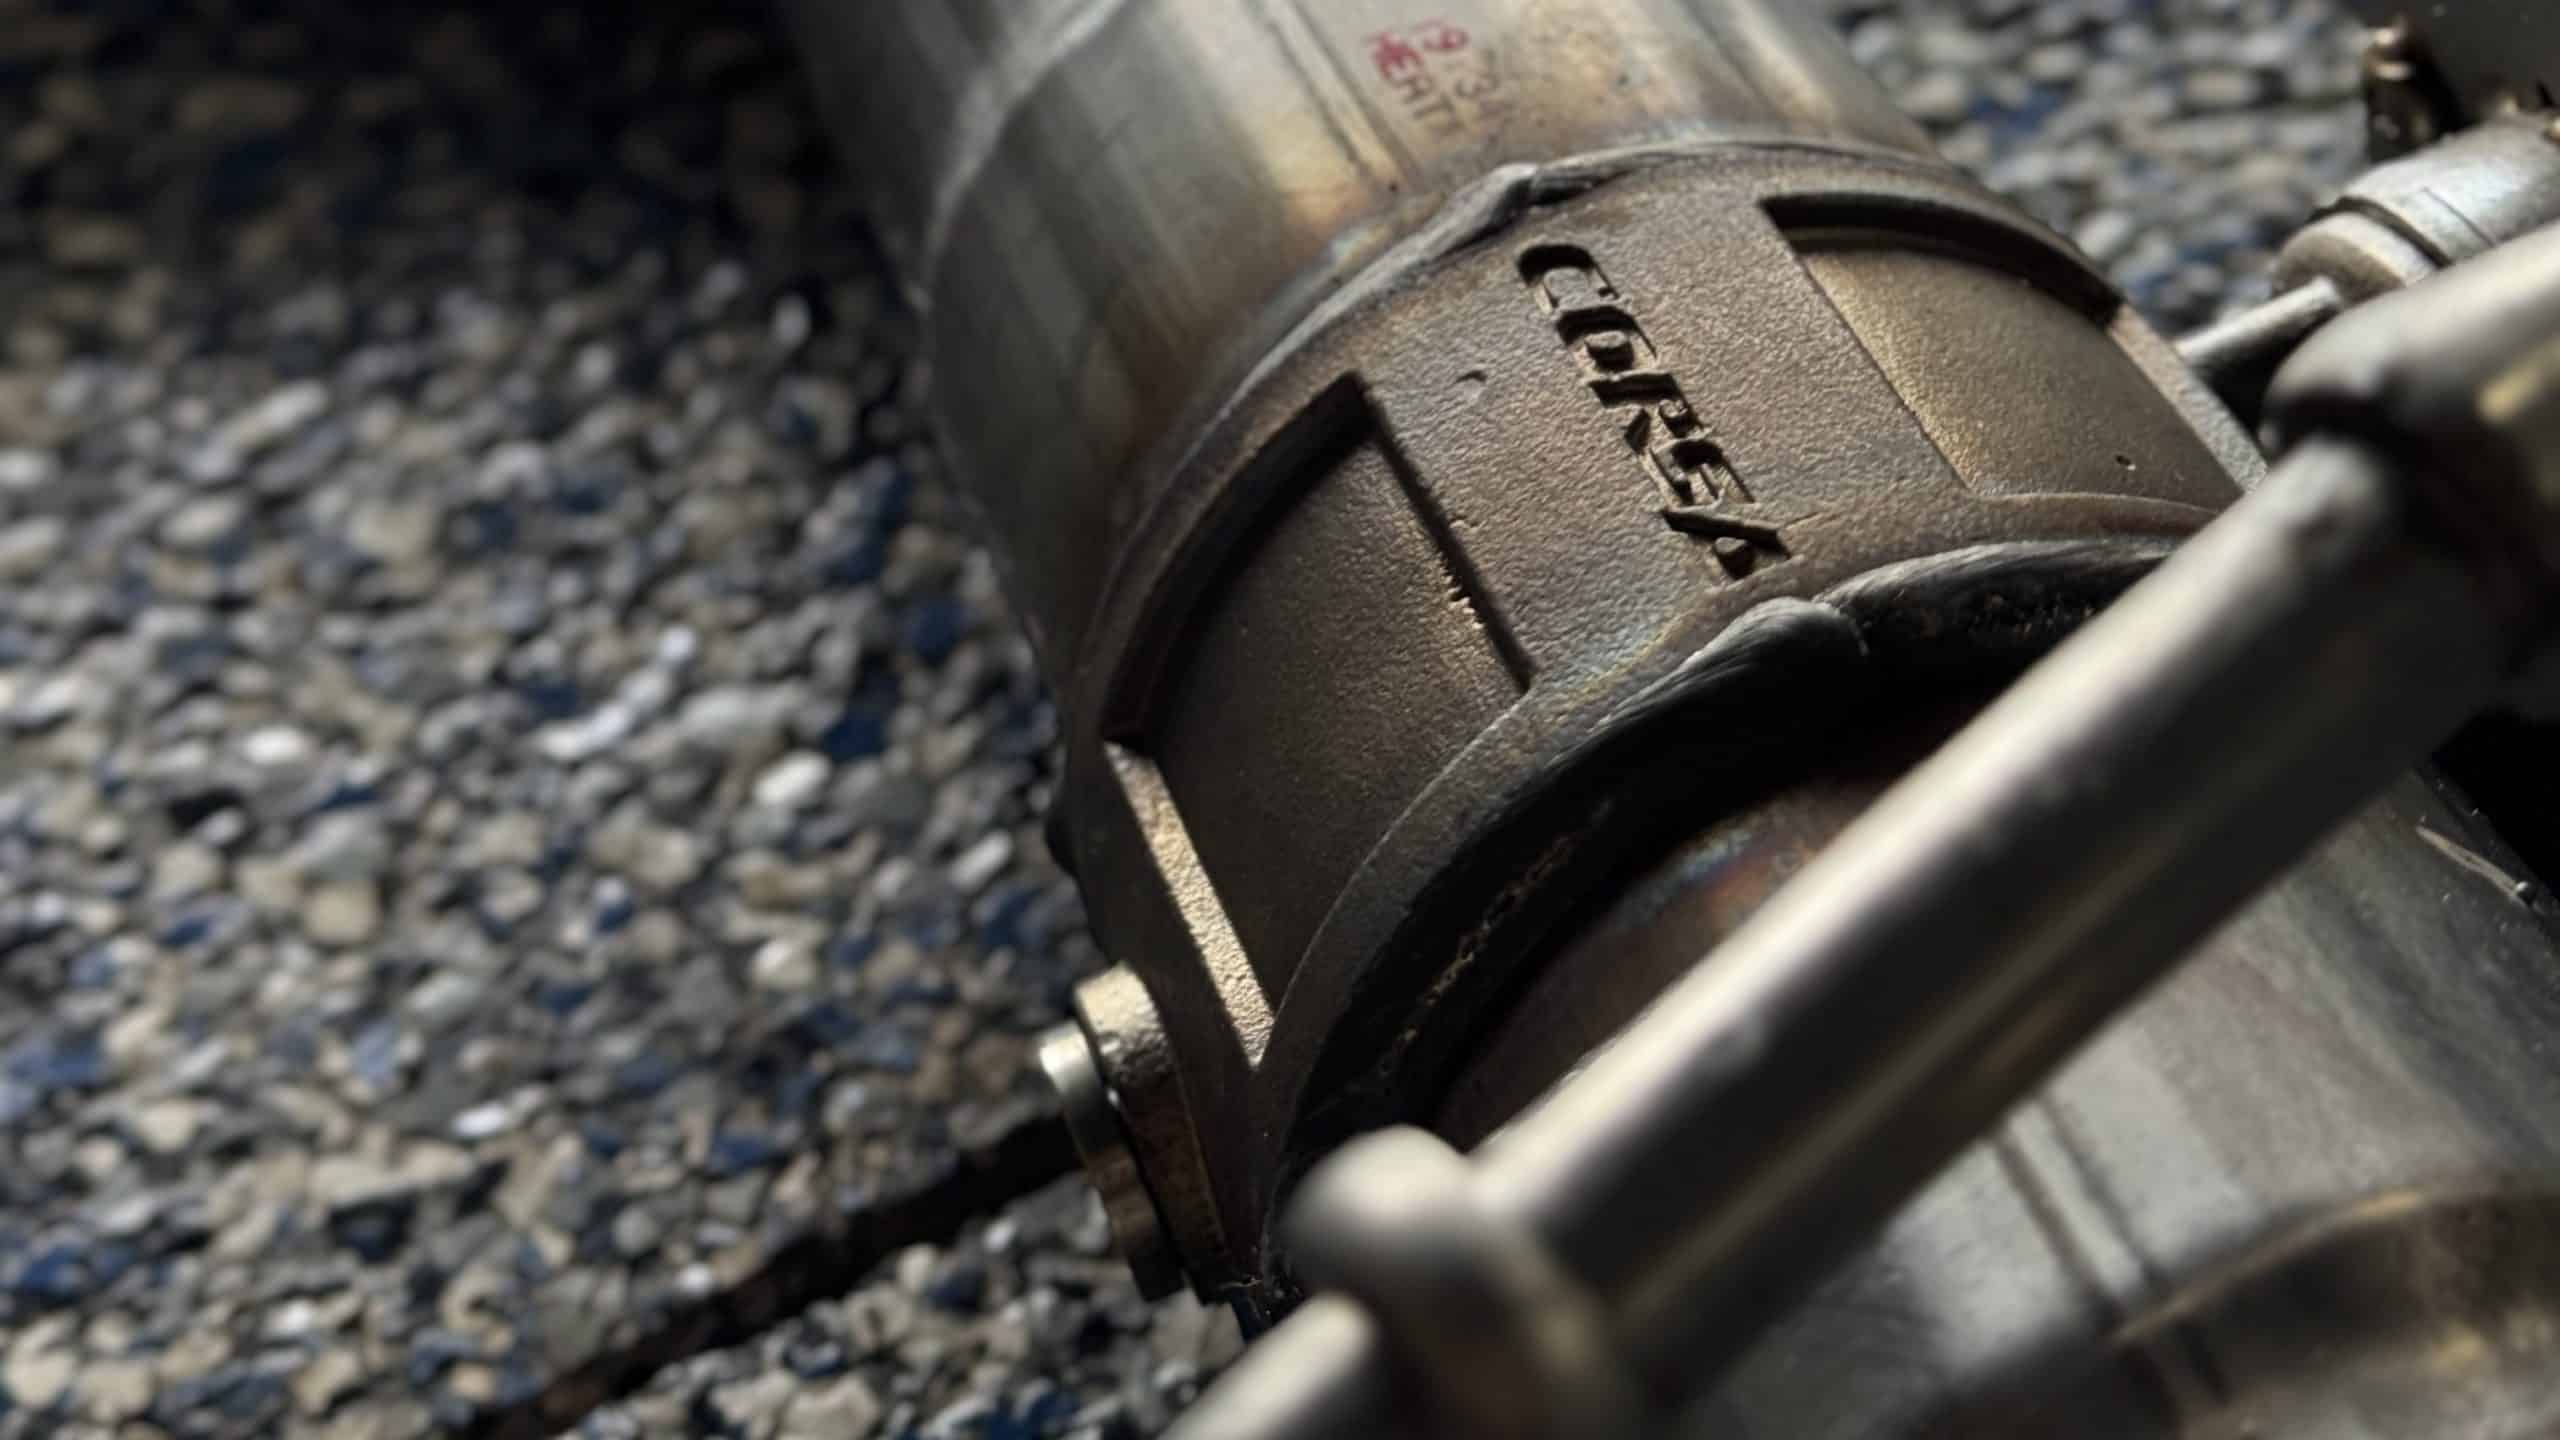
This Corsa exhaust also has a bridge piece to help hold the exhaust in place and keep it equally spaced apart. Be sure to tighten it down as well once everything is in place.
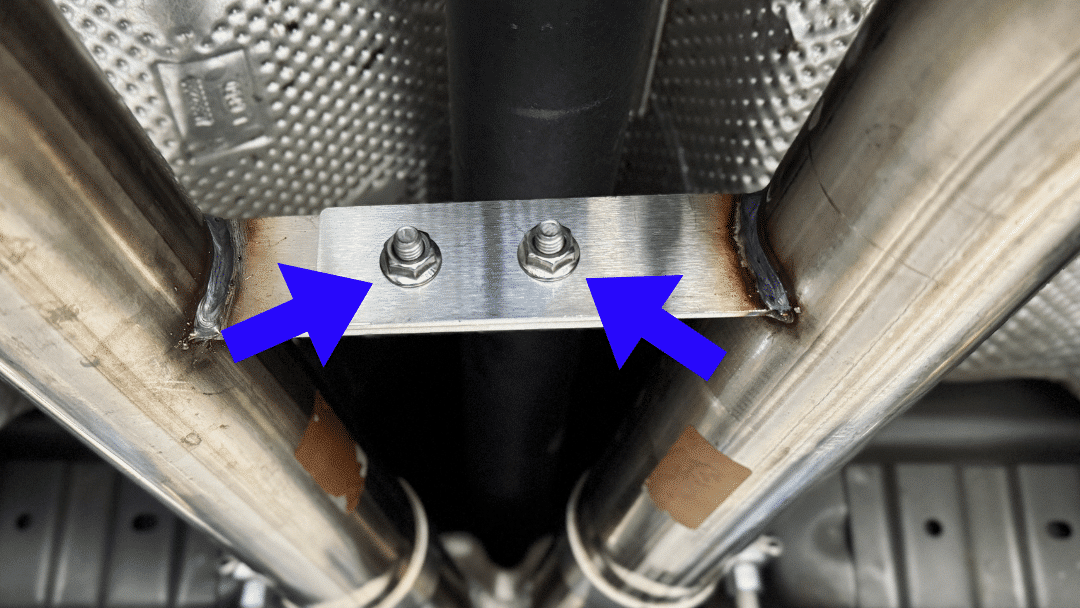
Reinstall the tunnel reinforcement bars. These can also help hold up the exhaust until everything is fully tightened; there are 2 bars and 8 bolts.
Reinstall the exhaust hangers as you move your way towards the back of the car.
If you have not already moved over the active exhaust valves, please do so now, along with reconnecting the power to them.
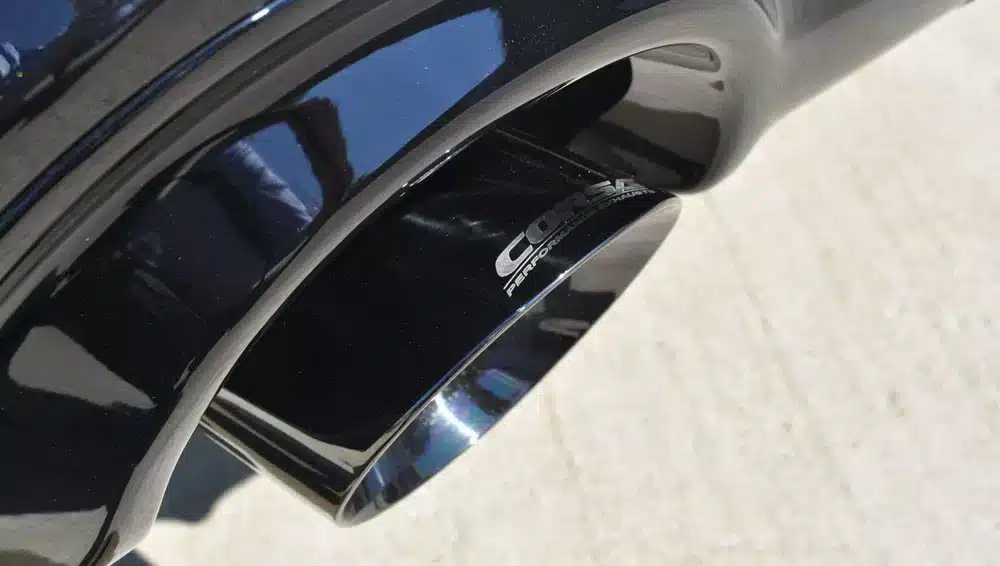
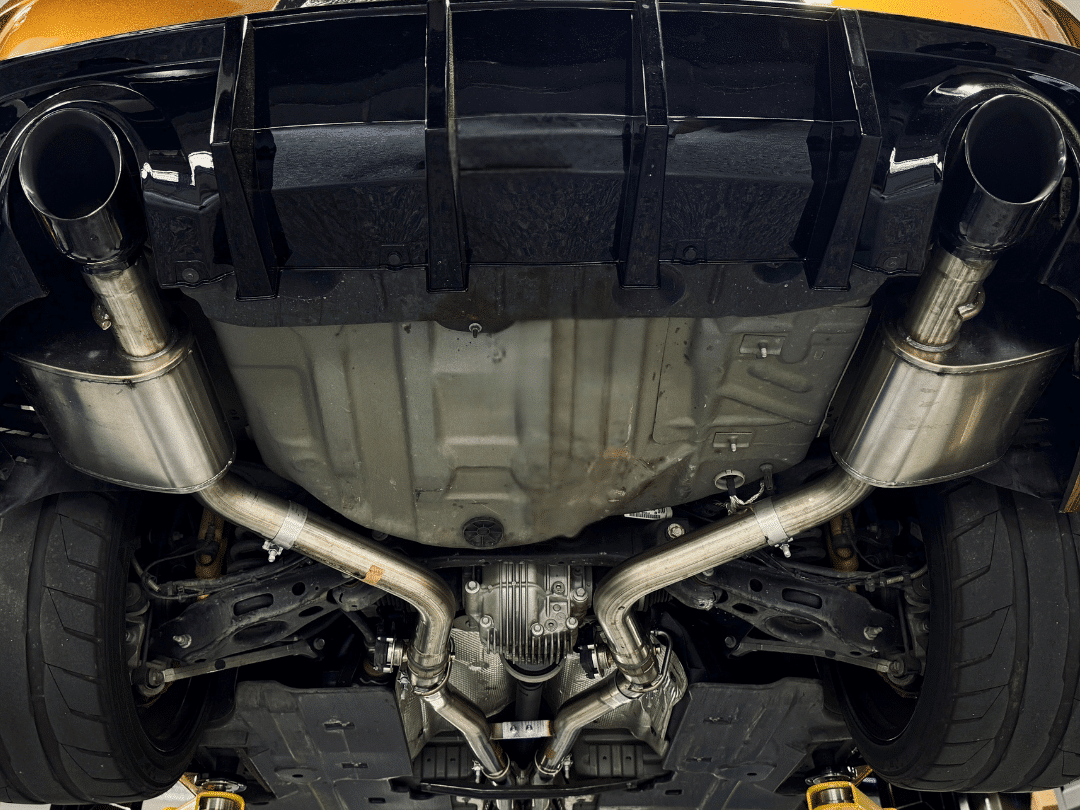
Alignment is important at the rear, where the exhaust tips need to sit evenly within the bumper openings.
Before tightening everything down, double-check clearances around suspension components, heat shields, and the driveshaft. Even minor misalignment can lead to unwanted NVH (noise, vibration, and harshness).
Alignment and Fitment
Alignment is what separates a clean install from a problematic one. A properly installed exhaust should have even spacing throughout the system and consistent clearance from surrounding components.
Taking the time to adjust alignment before tightening everything down prevents issues that often show up later, like vibrations or shifting under load.
Sealing the System Properly
Sealing is one of the most important parts of a performance exhaust install. Even small leaks can affect sound, reduce efficiency, and create unwanted noise.
Connections should be tight, clamps properly positioned, and gaskets correctly seated. If any part of the system isn’t sealing properly, it will show up quickly once the engine is running. A properly sealed system not only sounds better but performs better.

First Startup and Troubleshooting Leaks
Let the engine idle and listen closely. Small ticking sounds or hissing near connections often indicate leaks. It’s normal for a new system to produce some smell as coatings burn off, but consistent noise at joints means something needs adjustment.
This is where patience pays off. If you find a leak, loosening and realigning that section usually resolves the issue.

Common Installation Mistakes to Avoid
- Tightening everything before aligning the system
- Ignoring small clearance issues that turn into rattles later
- Reusing worn or damaged gaskets
- Not checking for leaks after installation
- Rushing the removal process and damaging hangers or hardware
Final Thoughts
Learning how to install an exhaust system on a Gen 3 HEMI vehicle gives you a deeper understanding of how your engine performs. A properly installed system improves airflow, enhances sound, and supports future performance upgrades. Taking the time to install it correctly ensures you get the full benefit of the upgrade without dealing with avoidable issues.
Need Help With Installation?
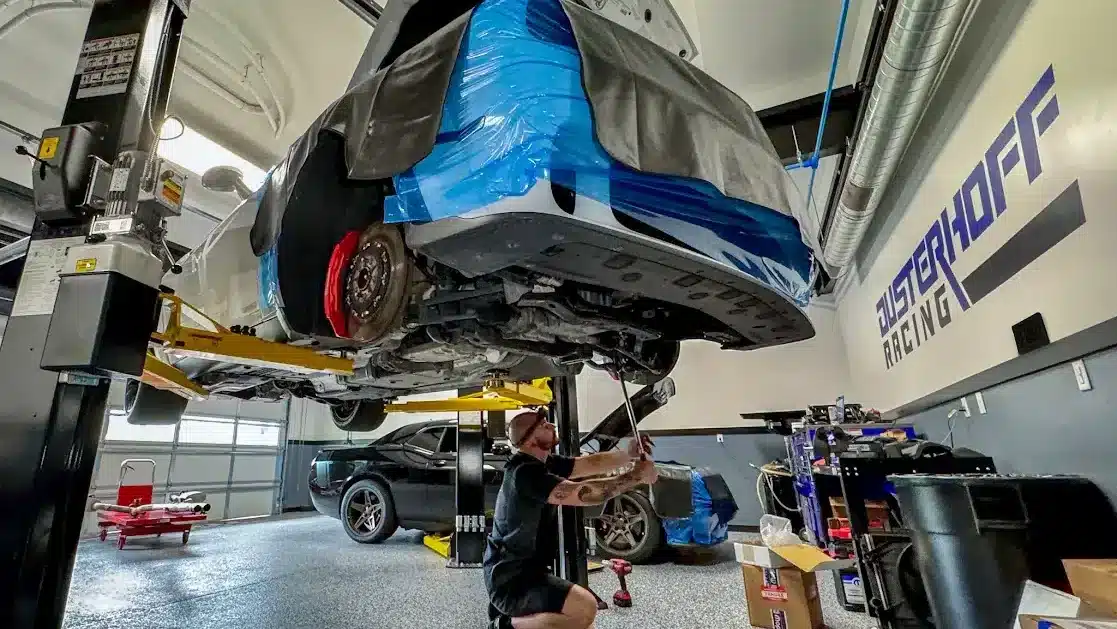
If you’d rather skip the hassle, we’ve got you covered. Here at Dusterhoff Racing, we offer in-house exhaust installation for Gen 3 HEMI vehicles.
Check out this exhaust install we did on this Hellcat:
Whether it’s headers, a full system, or a simple cat-back exhaust install, our team handles it and ensures everything aligns, seals properly, and performs exactly as it should.
Ready to get started? Contact Dusterhoff Racing at 404 – 480 – 4754 to discuss your build or fill out our in-house install form.